The Random Box of Musical Instruments…

What to Do With All Those Assorted Percussion Instruments in Your Preschool Classroom
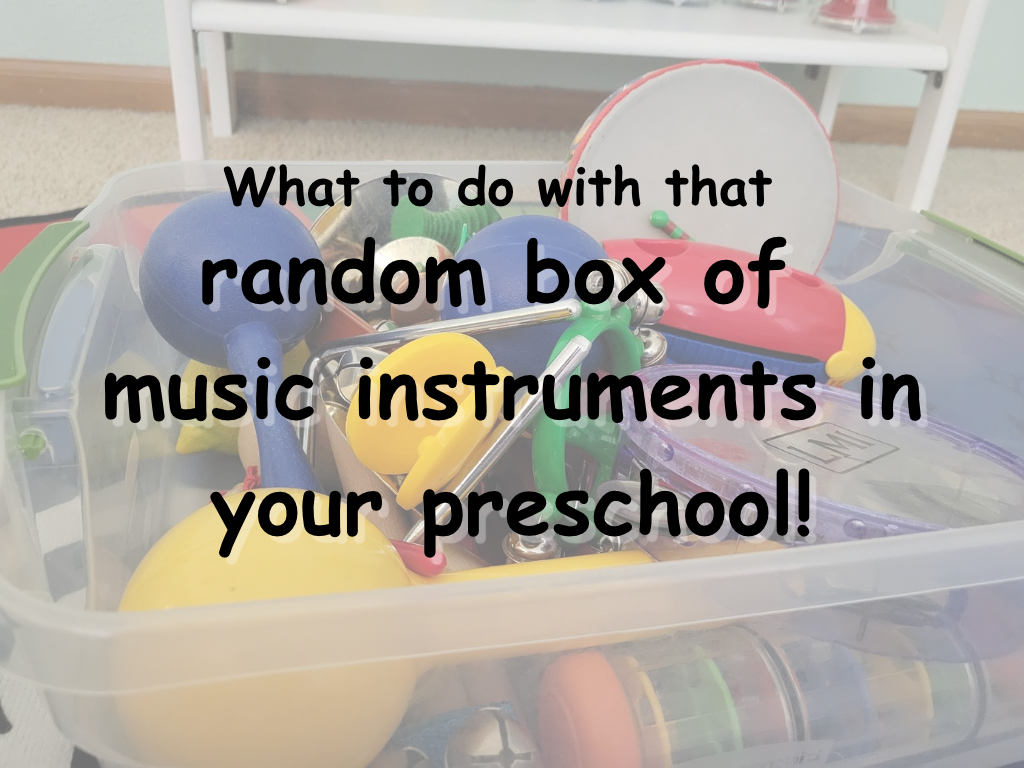
You know the box. It’s filled with a little bit of everything: a few shakers, some bells, a tambourine, a triangle, a hand drum, rhythm sticks, and maybe a mysterious plastic instrument nobody remembers buying, ONE cymbal (not very helpful), and there’s probably even a Lego or other random toy added to the mix!
Somewhere along the way, your preschool classroom accumulated a collection of assorted percussion instruments. Maybe they came from a donation, a previous teacher, a music kit, or a well-intentioned shopping trip.
You know music is important for young children. You want to incorporate instruments into your classroom, but where do you start? Do you hand everything out at once? Let children choose whatever they want? Play a song and see what happens?
Before you put that box back in the closet, let’s talk about how to turn that random collection of instruments into meaningful music learning opportunities.
The good news? You probably have everything you need!
Start by Sorting Your Instruments
Before introducing instruments to children, take a few minutes to see what you actually have.
Check each instrument for damage, loose pieces, sharp edges, or small parts that could pose a choking hazard. Make sure instruments are appropriate for the ages of the children using them.
Group similar instruments together.
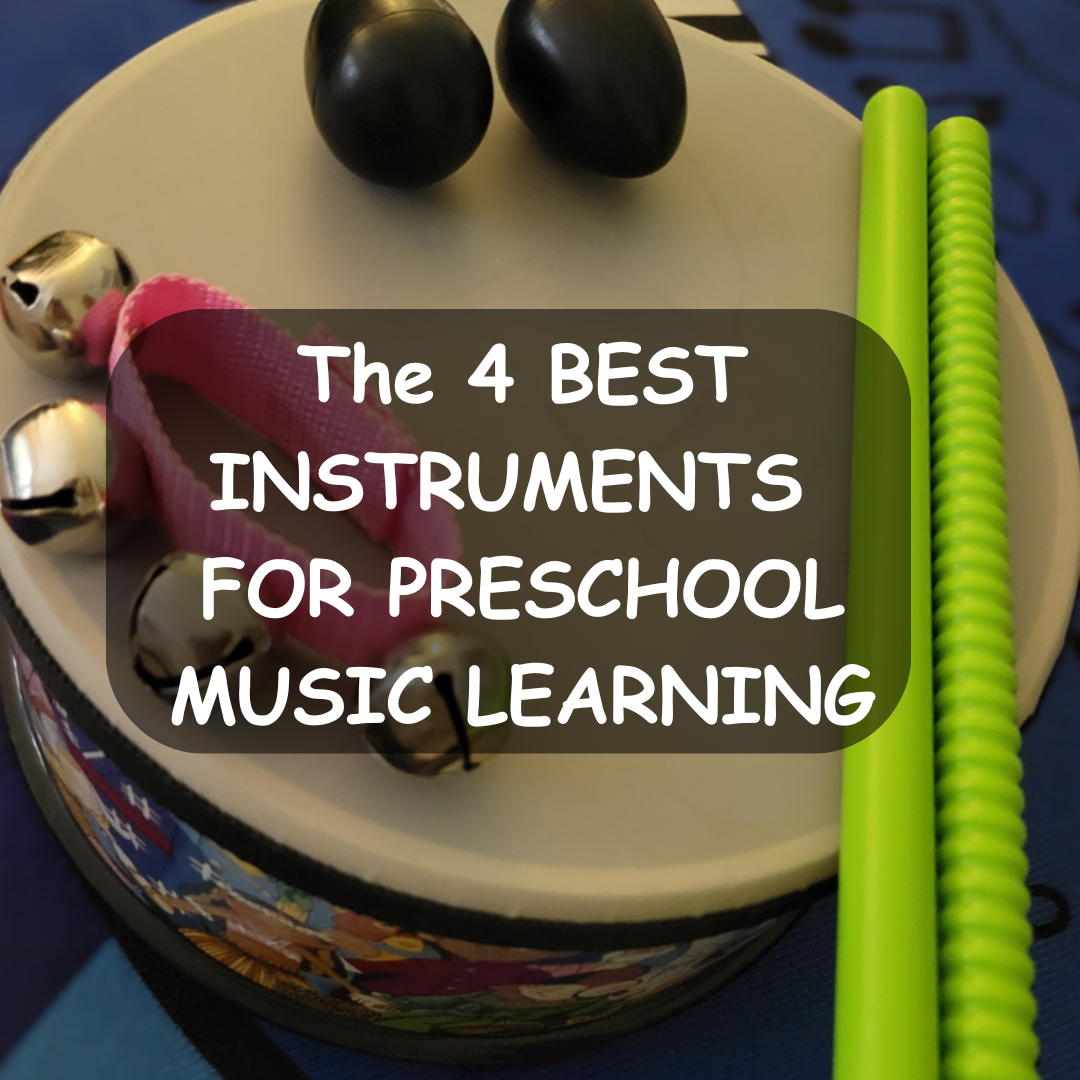
If all of my musical learning dreams could come true for you, you’d ideally have a class set of the big four!:
- Shakers: One pair/kiddo of egg shakers (or maracas and other instruments that make sound when shaken.)
- Bells: One wrist bells/kiddo (or handbells or bell sticks.)
- Drums: One/kiddo (Hand drums, frame drums. Remove any mallets and have kiddos play them on laps or the floor with hands only.)
- Rhythm Sticks: One pair/kiddo (pretty please, make sure the pairs have one smooth, one ridged.)
Watch this before handing out rhythm sticks to preschoolers!
And then the bonus items:
- Assorted percussion instruments: Scrapers (guiros, sand blocks), Loud Shakers (handle castanets, etc.), Metal Percussion:Triangles, cymbals, and other instruments that create ringing sounds, plus the standalone instruments: castanets, small rain sticks, claves, tone blocks, stirring drums, etc.
- A pitched xylophone: Ideally pitched to C-major scale. Don’t include this in the box ‘o random instruments. The xylophone gets to shine all by itself. (More on that later.)
For now, we’re really going to focus on what to do with that box of random, assorted instruments sitting on the shelf in your preschool classroom!
Don’t Hand Out Every Instrument at Once!
This might be the most important suggestion. This is my plea.
When children see a box full of colorful instruments, their excitement can quickly turn into a room full of noise! Chaos! Musical madness!
So, as a music teacher, I strongly discourage just setting the box on the ground and letting kiddos go bonkers.
I’m all for encouraging instrument exploration! That’s so very important. But we do it in a way that encourages proper instrument handling and music-play.
In Little Kiddos Music classes, we always distribute the instruments in a systematic, organized way.
But, before even passing out one instrument, I do this:
Once we’ve established expectations and are ready to play instruments, I might have us all just keep a steady beat – I’ll play on a drum or clap hands to make it clear, and then after a few measures of that, we pass the instrument to the right. Every. Single. Time. We always pass the instrument in the exact direction and only when I give the direction. Even the littlest kiddos can learn to do this (with help, of course)!
It also makes classroom management much easier!
Speaking of classroom management, remember those expectations? Anytime — every single time — a kiddo struggles with following expectations, it’s so important to take a quick moment for a reset, a reminder (of course, remove the instrument immediately if they’re being unsafe!).
Remember, the goal isn’t simply to make noise. It’s to help children begin understanding the language of music.
Teach Children to Listen Before They Play
One of the simplest ways to introduce a new instrument is to let children hear it first.
Hold up an instrument and ask:
- What do you notice about this instrument?
- Is the sound loud or quiet?
- Does it ring, shake, tap, or scrape?
- Does the sound continue, or does it stop quickly?
Demonstrate playing the instrument in different ways.
For example, with an egg shaker:
- Shake it gently.
- Shake it with a strong movement.
- Shake a steady beat.
- Stop and listen.
I love to tell them the real names and in the same way every time.
This gives children an opportunity to explore each instrument, learn how to use it, and become familiar with its unique sound. It’s also a great way to connect science-learning to music. The physics of music! How does it make that sound?
As you let the kiddos explore the instruments, you can also introduce simple musical vocabulary as you go.
Some of our favorite Fancy Pants Music Words to introduce to young children include:
- Steady Beat: The regular, ongoing pulse (heart beat) of music.
- Rhythm: Pattern of sounds on a steady beat.
- Dynamics: How loud or quiet music is.
- Tempo: How fast or slow the best goes.
- Pitch: How high or low a note is.
You don’t need to introduce all these words at once. Just begin incorporating them naturally into your music activities.
Try These Five Easy Instrument Activities
You don’t need complicated lesson plans to get started. Here are five simple activities you can try with the instruments already sitting in your classroom.
Activity 1: Play the Steady Beat
Choose a song with a very clear steady beat (marches work great, but there are so many options out there!). Just a few personal favorites from a variety of genres:
- St. Louis Blues March — Glenn Miller Orchestra
- Minor Swing (from the “Chocolat” Motion Picture Soundtrack — Rachel Portman
- Titanic Set (Medley) — Gaelic Storm
- Taiko Drumming — Taiko Drums: Music of Japan
- Collard Greens and Cornbread — Jon Batiste
- Asi Es La Vida — Cirque du Soleil
- The Syncopated Clock — Leroy Anderson
Before you even hand out the instruments, have everyone keep the steady beat with body percussion only (patting legs, clapping hands, patting the ground). Then, distribute an instrument to each child.
Help each kiddo play the instrument properly and continue reinforcing the beat (clapping, playing along with a drum or even just saying, “beat, beat, find the beat…keep the steady beat…” on the beat!)
Music skill: Developing an awareness of steady beat.Children might first echo a simple pattern. Then they could tap a pattern on rhythm sticks.
Activity 2: Loud and Soft Sounds (Forte and Pianissimo)
Choose two instruments, such as a drum and a shaker.
Demonstrate playing each instrument loudly (forte) and quietly (piano or, to avoid confusion with the instrument, we usually go with pianissimo — very, very quiet).
Invite children to imitate your movements.
Try using visual cues:
- Hands held high = loud.
- Hands held low = quiet.
- Closed hands = stop.
Music skill: Exploring dynamics and musical expression.
Activity 3: Stop and Go!
Give children an instrument and play a short piece of music.
When the music plays, children play their instruments (keeping the steady beat!). When the music stops, everyone stops!
This activity is a wonderful opportunity to practice listening, self-regulation, and responding to musical cues.
Music skill: Listening, musical awareness, and responding to changes in music. Builds focus, as well as teaching there are rests in music.
Activity 4: Instrument Sound Detective
Choose three different instruments.
Play one instrument behind your back and ask children to guess which instrument they heard.
You can also let children close their eyes and listen carefully.
Encourage them to describe what they hear. Is it a ringing sound? A tapping sound? A shaking sound?
Music skill: Developing auditory discrimination and listening skills. Also, a good opportunity to teach the Fancy Pants Music Word — Timbre (the quality of the sound, like the instrument’s special sound, color or voice.)
Activity 5: Create an Instrument Parade
This one is best saved for the slightly older little kiddos (pre-K and kindergarten). Choose a familiar marching song and give children one type of instrument. (Only do this with smaller, safe instruments — not larger drums or rhythm sticks. Shakers and wrist bells work great!)
Invite them to march around the classroom while keeping a steady beat.
Try changing the tempo. Can everyone march to a slower beat? Largo! What happens when the music becomes faster? Accelerando! Ask: “What is our tempo now? Faster or slower than before?” When they say, yes, it’s faster, you can then reinforce tempo words for fast like Allegro, Vivace, or Presto!
Keep the movement controlled and make sure there is enough space for everyone.
Music skill: Connecting movement, rhythm, and tempo.
Make Instrument Exploration Part of Your Classroom Routine
You don’t have to schedule a full music lesson every time you bring out an instrument.
Instead, look for opportunities to incorporate music into your existing classroom routines!
For example:
- Use shakers during a morning welcome song.
- Use rhythm sticks for tapping out counting.
- Use bells during a transition song.
- Explore different instruments during circle time.
- Let children take turns being the music leader.
Repetition is especially valuable for young children. Returning to familiar songs, movements, and musical activities helps children develop confidence and recognize patterns.
A predictable routine also helps children understand what to expect when instruments come out.
And, it goes without saying, that using music makes transitions so much smoother!
Explore 10 Easy Ways to Add Music to Your Preschool or Daycare Day!
Put Together a Simple Instrument Rotation
If you have a large collection of assorted instruments, consider creating a small instrument rotation.
Keep only a few types of instruments accessible at a time and switch them out periodically.
For example:
Week 1: Shakers (egg shakers, maracas, bells)
Week 2: Drums
Week 3: Rhythm Sticks (always with supervision)
Week 4: Assorted Percussion
You can revisit instruments throughout the year and introduce new ways to use familiar ones.
Children don’t need something new every week. In fact, repetition and familiarity are important parts of early childhood learning.
A Little Music Goes a Long Way
That random box of percussion instruments might not look like much, but it holds plenty of possibilities.
With a little organization, intentional instruction, and developmentally appropriate activities, you can help children explore rhythm, steady beat, tempo, dynamics, listening, movement, and musical expression.
And remember: Music education doesn’t have to be complicated, loud, or elaborate to be meaningful.
It’s not about having the most instruments or creating the biggest performance. It’s about giving children opportunities to experience, explore, and begin understanding the language of music.
You already have the instruments. Now it’s time to make some music!
Want a Little Help Bringing Music Into Your Classroom?
At Little Kiddos Music Academy®, we believe every early childhood classroom can offer meaningful music experiences, even without a dedicated music teacher.
Created by Jenny Martin, M.Ed., an educator with more than 25 years of teaching experience, our classroom-ready preschool music curriculum provides playful, research-informed music instruction for children ages 1–6.
With scripted lessons, engaging songs, instrument activities, movement, and printables, teachers can bring real music learning into their classrooms.
No music background needed. No music teacher needed. Just press play!
Intersted in updates and free preschool music ideas delivered directly to your in-box?